Two weeks after you have moved into your dream home, you pop out to do some shopping. On your return, you find Cookie and Fudge, your two Labradors, lapping at a pool of water on the pale golden wooden floor of your dining room.
What should you do to clear up the spilled water on the wood floor and minimize water damage to your hardwood floors? What issues are likely to arise as a result of the incident?
In this post, we examine the answers to these questions in detail to enable you to handle such an occurrence effectively and as a result, minimize the risk of further damage to your floor.
What To Do If You Spill Water on Hardwood Floor?
When any spill occurs, you will need to act as quickly as possible. Taking prompt action can enable you to forestall the possibility of your floors sustaining any serious damage, and possibly prevent any reduction to the value of your home, and even damage to your property as well.
The following steps will enable you to get rid of as much moisture in the shortest possible time and greatly reduce the risk of any of the above issues occurring.
1. Identify the Source of the Spill
The first thing you need to do is determine the source of the water (once you’ve gotten your pets out of the room to prevent them from spreading even more water all over your home). You would need to find out whether it is due to a leak, a burst pipe, or simply the result of your pets turning over their water bowls.
This step is of paramount importance since attempting to mop up the water without being able to stop it from its source will defeat the purpose of getting rid of it.
2. Remove Any Furniture and Furnishings
Once you have cut off the flow of water, you will need to remove any mats, rugs, or carpets in the area. You will also need to remove any furniture as well. The furniture and the furnishings will have to be placed in an appropriately safe place.
Doing so will enable you to assess the full extent of the spill, and also ensure you can prevent any furniture or soft furnishings which have not been drenched from getting soaked.
Taking this precaution will also enable you to prevent any soaked items from constituting an additional risk to your wooden floor.
3. Mop Up the Water
This task is best handled using absorbent clothes such as old towels to be able to get rid of the excess water as promptly as you can. If you have to deal with a significant amount of water, you will need to make use of a wet vac. You will also need to use it even if you are dealing with a spill that has been mopped up with towels to ensure you can target any moisture which has seeped between each plank.
4. Get Rid of Any Residue
Depending on the source of the spilled water on your wood floor, you may have to deal with lingering silt or mud. This residue will need to be cleaned up thoroughly as well to not only restore the surface to its pristine state but to also reduce any possible risk of staining.
5. Disinfect the Surface
Getting rid of any water spilled on your hardwood floor is only one part of the task of minimizing damage to it. Another risk that occurs due to the spill is that of mold that prefers moist, warm, organic surfaces. This fungus can cause damage to your floors, furniture, and soft furnishings and most importantly can negatively affect your health.
You will need the following:
- Gloves
- Mask
- Absorbent cloths
- Cleaning cloths
- Spray bottle
- Disinfectant (store-bought or homemade — a solution made from 1 cup of water and ¼ cup vinegar.)
You will need to ensure the entire room is ventilated properly and spray the disinfectant on the part of the floor affected by the spill. You will also need to clean the surface thoroughly with it and clean it up with absorbent cloths at once.
Following this procedure, you should make use of the wet vac to eliminate any excess moisture your floor has been exposed to as a result of this step.
If you have any questions, we have a detailed guide for disinfecting your hardwood floors here.
6. Switch on Your Dehumidifier
Dehumidifiers are excellent at eliminating any excess moisture from the air and in this instance, they will dry it out and also dry out your floor as well.
Air conditioners are also capable of functioning as dehumidifiers to some extent and should be switched on as well as any fans in the room.
To eliminate as much moisture as possible, you will need to run these appliances for an extensive period (between 24 to 72 hours).
As is required during the disinfecting process, you will also need to leave the windows open during this step (unless there happens to be a downpour).
7. Assess the Extent of the Water Damage
Despite your efforts, and depending on the circumstances of the spill, there will be the possibility of lingering moisture in your wood floor. As a result, you will need to use a moisture meter to regularly check for the presence of any excess moisture during the weeks following the spill.
Issues Which May Arise Due to Neglecting Water Spilled on Wood Floor
Due to the organic nature of wood and its tendency to absorb water, spills should be taken seriously.
Merely mopping up the pooled water and moving furniture aside to dab up any in concealed areas will not be sufficient in the event of a spill. Failure to implement the above steps may result in the following issues:
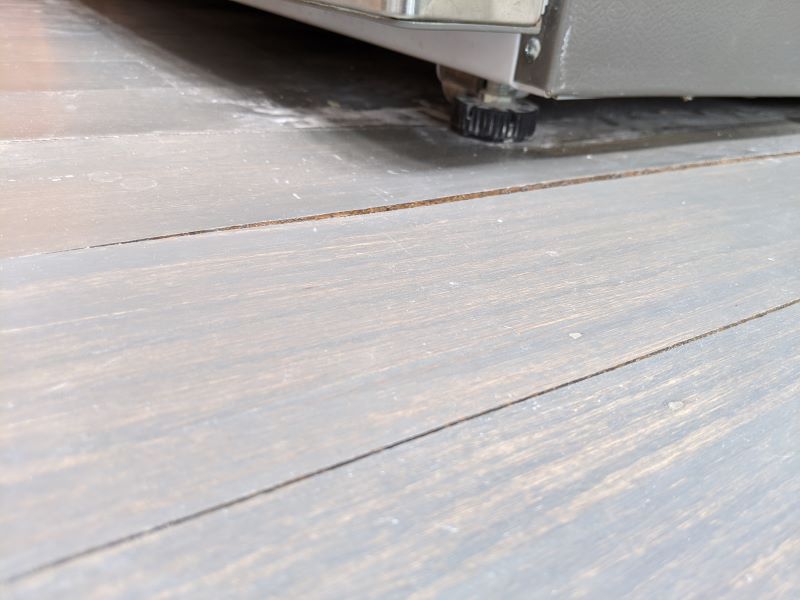
1. Cupping
Exposure to water may result in an imbalance in moisture levels in the planks of your wood floor with higher levels being present at their bases. This could result in their sides expanding so that they are raised higher than their centers giving them a convex shape — an occurrence known as cupping. Learn how to fix cupping in hardwood floors in our detailed article.
2. Buckling
If the spill happens to be especially large and is not handled immediately in an effective manner, the exposure to the excess moisture may result in the planks actually lifting from the floor resulting in an uneven surface. This occurrence is referred to as buckling. It may be resolved by removing the affected planks, thoroughly drying the underlying surface, and adding new replacement planks. For more details, check out our article on how to fix buckling in hardwood floors.

3. Mold Damage
Mold tends to thrive in the presence of moisture and organic material, hence an unattended spill could provide it with the ideal opportunity to spread in your home. The fungus also tends to propagate promptly as well.
The presence of unattended moisture in your floors could attract spores which will begin to reproduce while feeding on the wood. They could also spread to other sources of organic material such as paintings, furniture, drapes, and upholstery and damage them as well.
The presence of mold in your home could irritate the eyes, noses, and throats of residents. It could also trigger allergic reactions and even result in more grievous issues such as serious damage to the lungs.
We recommend going through our article on removing mold on hardwood floors.
What to Do In Case of Major Water Damage to Your Hardwood Floor?
In addition to buckling or cupping, another sign which is likely to alert you to the presence of water damage is the appearance of stains on the affected parts of the hardwood floor.
This discoloration may be caused by nails becoming rusted, the presence of mold, or the reaction of the tannins contained in the wood to the presence of water.
The following steps will need to be taken depending on the extent and the nature of the damage to restore your floors to normal:
1. Drying
Occasionally, cupped hardwood floors may flatten over time as they dry out. However, this may take up to half a month or even longer. The use of dehumidifiers and special fans can help to shorten this process.
2. Removing Damaged Planks
In the event of permanent damage to part of your floor, you will need to remove the affected planks.
It is worth noting that you will also need to remove adjacent planks to those damaged by mold or stains.
This is due to the fact they may very often be affected as well even though it may not be immediately visible.
3. Checking the Subfloor
You will also need to check the subfloor and the underlying concrete to ensure they are both free of mold and moisture. If this is not the case, you will need to remove the subfloor and dry out the concrete. You will also need to replace the subfloor and install a moisture barrier following which you will be able to add the new planks which should ideally be from the same batch as those already used for your floor.
4. Sanding and Refinishing
This procedure is often carried out to correct cupping in flooring. However, special care must be taken to ensure the planks are dried out properly, failing which crowning may occur.
This procedure may also be an option when replacing part of the wood floor with new planks to provide the entire surface with a uniform appearance.


